 MEDIVEERSETHE PRACTICAL HUB
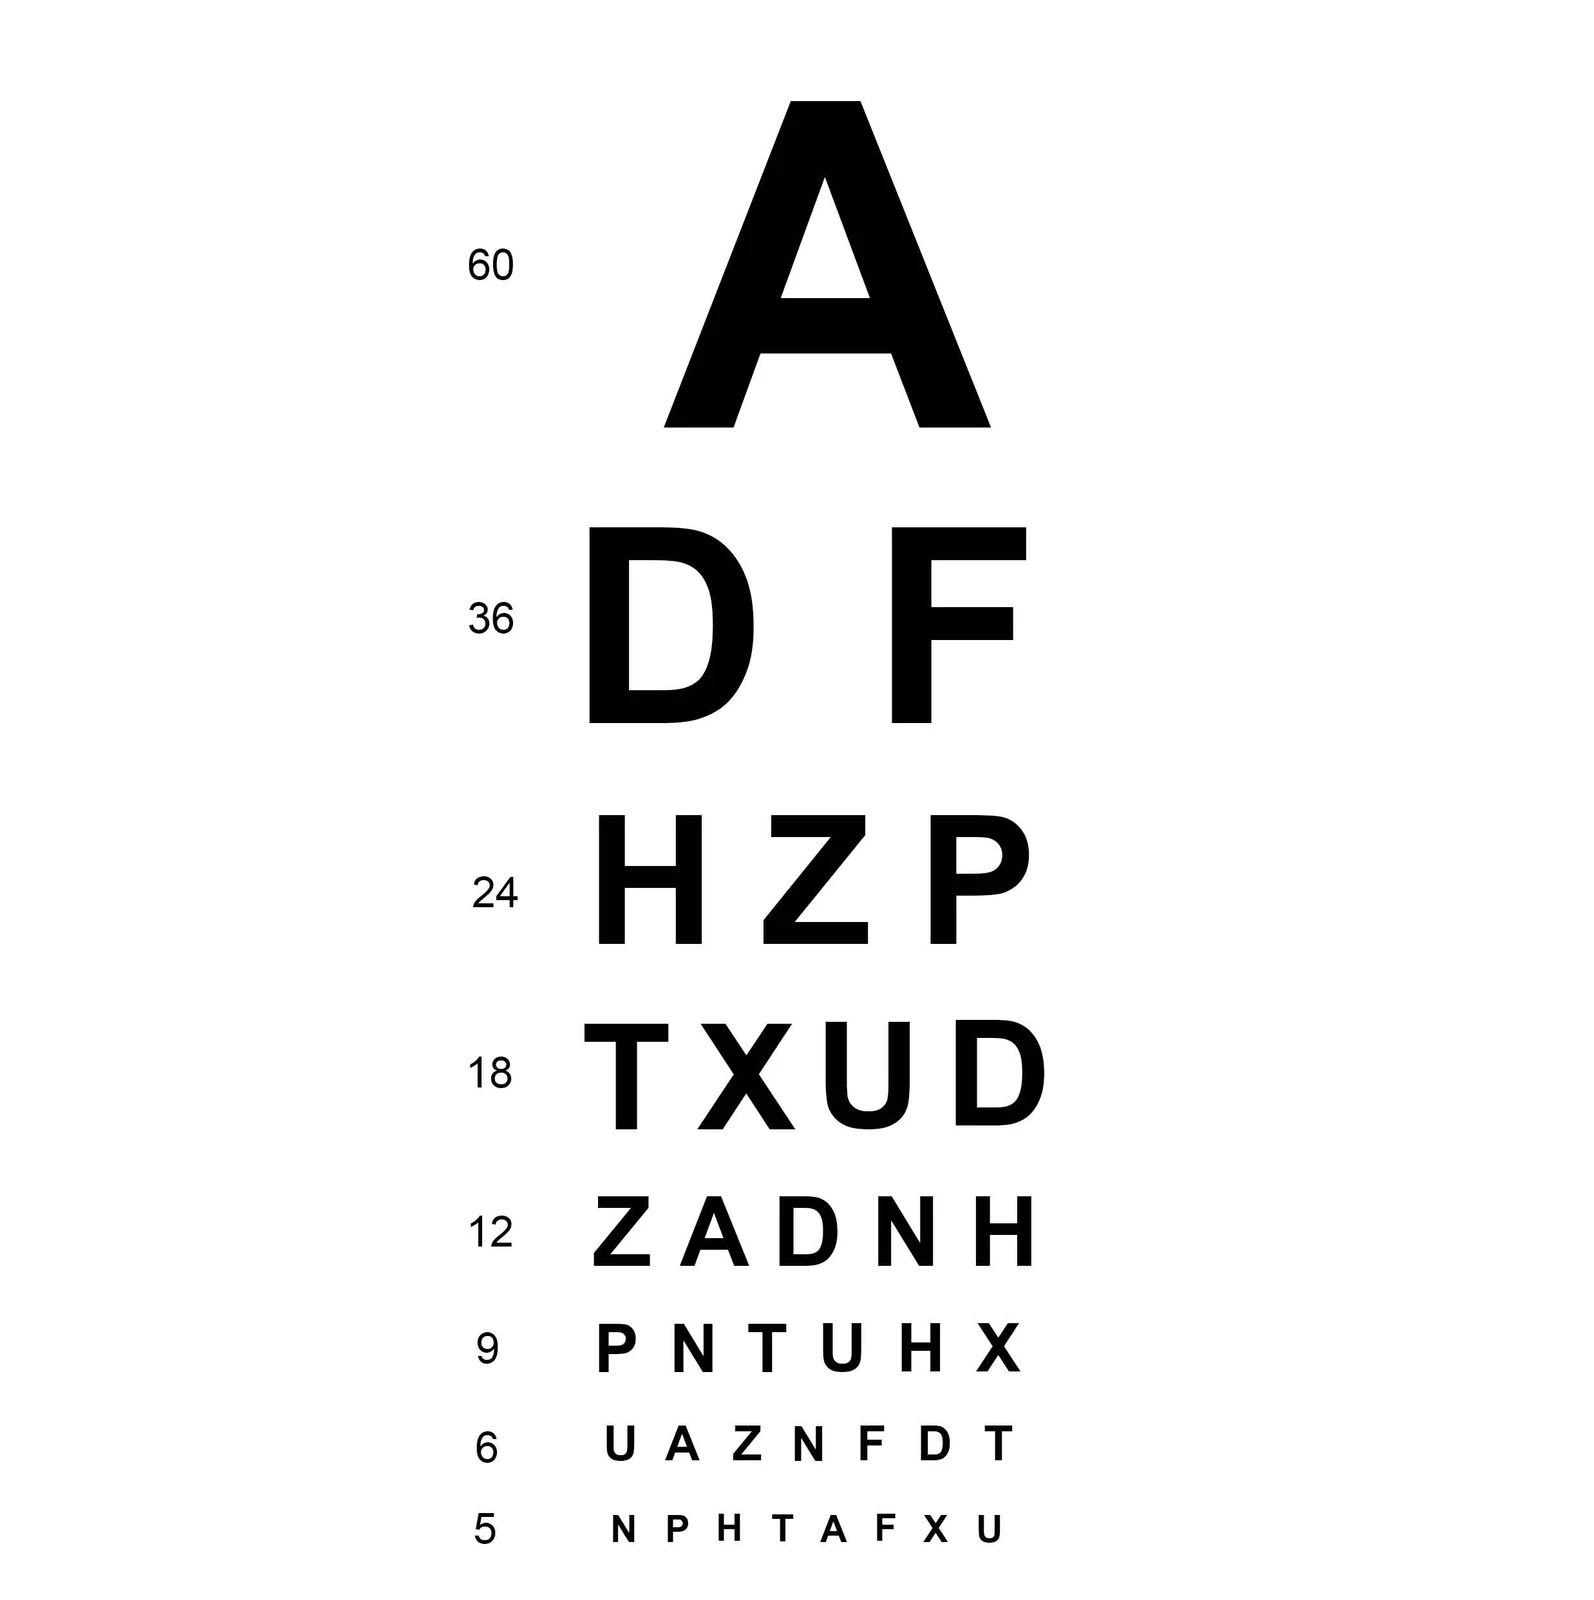
Large optotypes: located on the reference instrument. Compare its shape and position with the apparatus used in your practical.
Zoom in, then drag to inspect. Keyboard: + / − to zoom, arrows to pan, 0 to reset. Tap the numbered markers to explore parts.
Snellen visual-acuity chart — reference view
Image: Creative magnet · Source / original · CC BY-SA 4.0Resized and converted to WebP; original colours retained.
Snellen visual-acuity chart
Distance vision chart · optotype chart
What is its use?
Assesses distance visual acuity under standardised viewing conditions.
Tap a number to locate its part. Zoom, drag or use full screen to inspect the reference. Models and graduations can differ; check the actual instrument used in your practical class or clinical posting.
How to recognise it.
- Rows of optotypes reduce in size
- Distance-acuity values accompany the rows
- The chart is designed for a specified testing distance
An acuity chart does not test the entire visual field or determine colour vision.
Point them out.
Choose a part to bring its numbered marker into view.
How it works.
Optotypes subtend defined visual angles at the chart’s specified distance.
Think first. Then reveal.
Explain your answer aloud before opening it.
01What does 6/6 mean?+
At 6 metres, the tested eye resolves the line intended to be resolved at 6 metres by the reference standard.
02What does the denominator represent?+
The reference distance at which the particular optotype size is intended to be resolved.
03Why test each eye separately?+
Good vision in one eye can mask reduced acuity in the other.
04Can a chart be used at any distance?+
No. Use its specified test distance or a correctly calibrated equivalent.
Read the references.
Teaching and clinical references are listed here. Image attribution and licence appear below the viewer.