Identify the reference
Two metal prongs joined at a common base. Stem for holding the instrument. Frequency is usually marked on the fork
 MEDIVEERSETHE PRACTICAL HUB
LOOK CLOSELY / UNDERSTAND CLEARLY
Explain bedside air- and bone-conduction comparisons using the appropriate tuning-fork frequency.
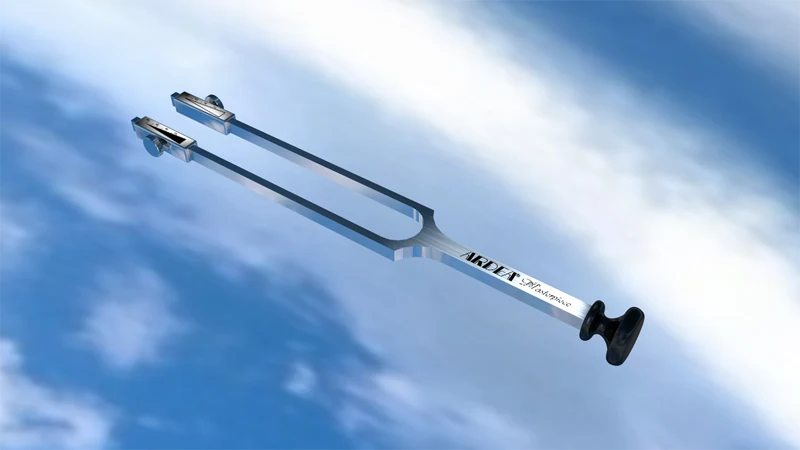
Prongs: located on the reference instrument. Compare its shape and position with the apparatus used in your practical.
Zoom in, then drag to inspect. Keyboard: + / − to zoom, arrows to pan, 0 to reset. Tap the numbered markers to explore parts.
Tuning fork — reference view
Image: Takahe · Source / original · CC BY-SA 4.0Resized and converted to WebP; original colours retained.
A vibrating fork generates a relatively defined frequency transmitted through air or bone.
Two metal prongs joined at a common base. Stem for holding the instrument. Frequency is usually marked on the fork
A vibrating fork generates a relatively defined frequency transmitted through air or bone.
Bedside tuning-fork tests support assessment but do not replace formal audiometry. The reference fork’s actual frequency must be checked.
Try answering aloud, then open the suggested answer. Examiner questions vary.
Air conduction and bone conduction at the same ear.
Air conduction is perceived longer or louder than bone conduction under the test conditions.
Lateralisation of sound from a fork placed at the midline.
A 128 Hz fork, with comparison across appropriate bony sites.