Align
Use the joint-specific reference landmarks.
 MEDIVEERSETHE PRACTICAL HUB
LOOK CLOSELY / UNDERSTAND CLEARLY
Recognise a goniometer and document joint range with a standardised position.
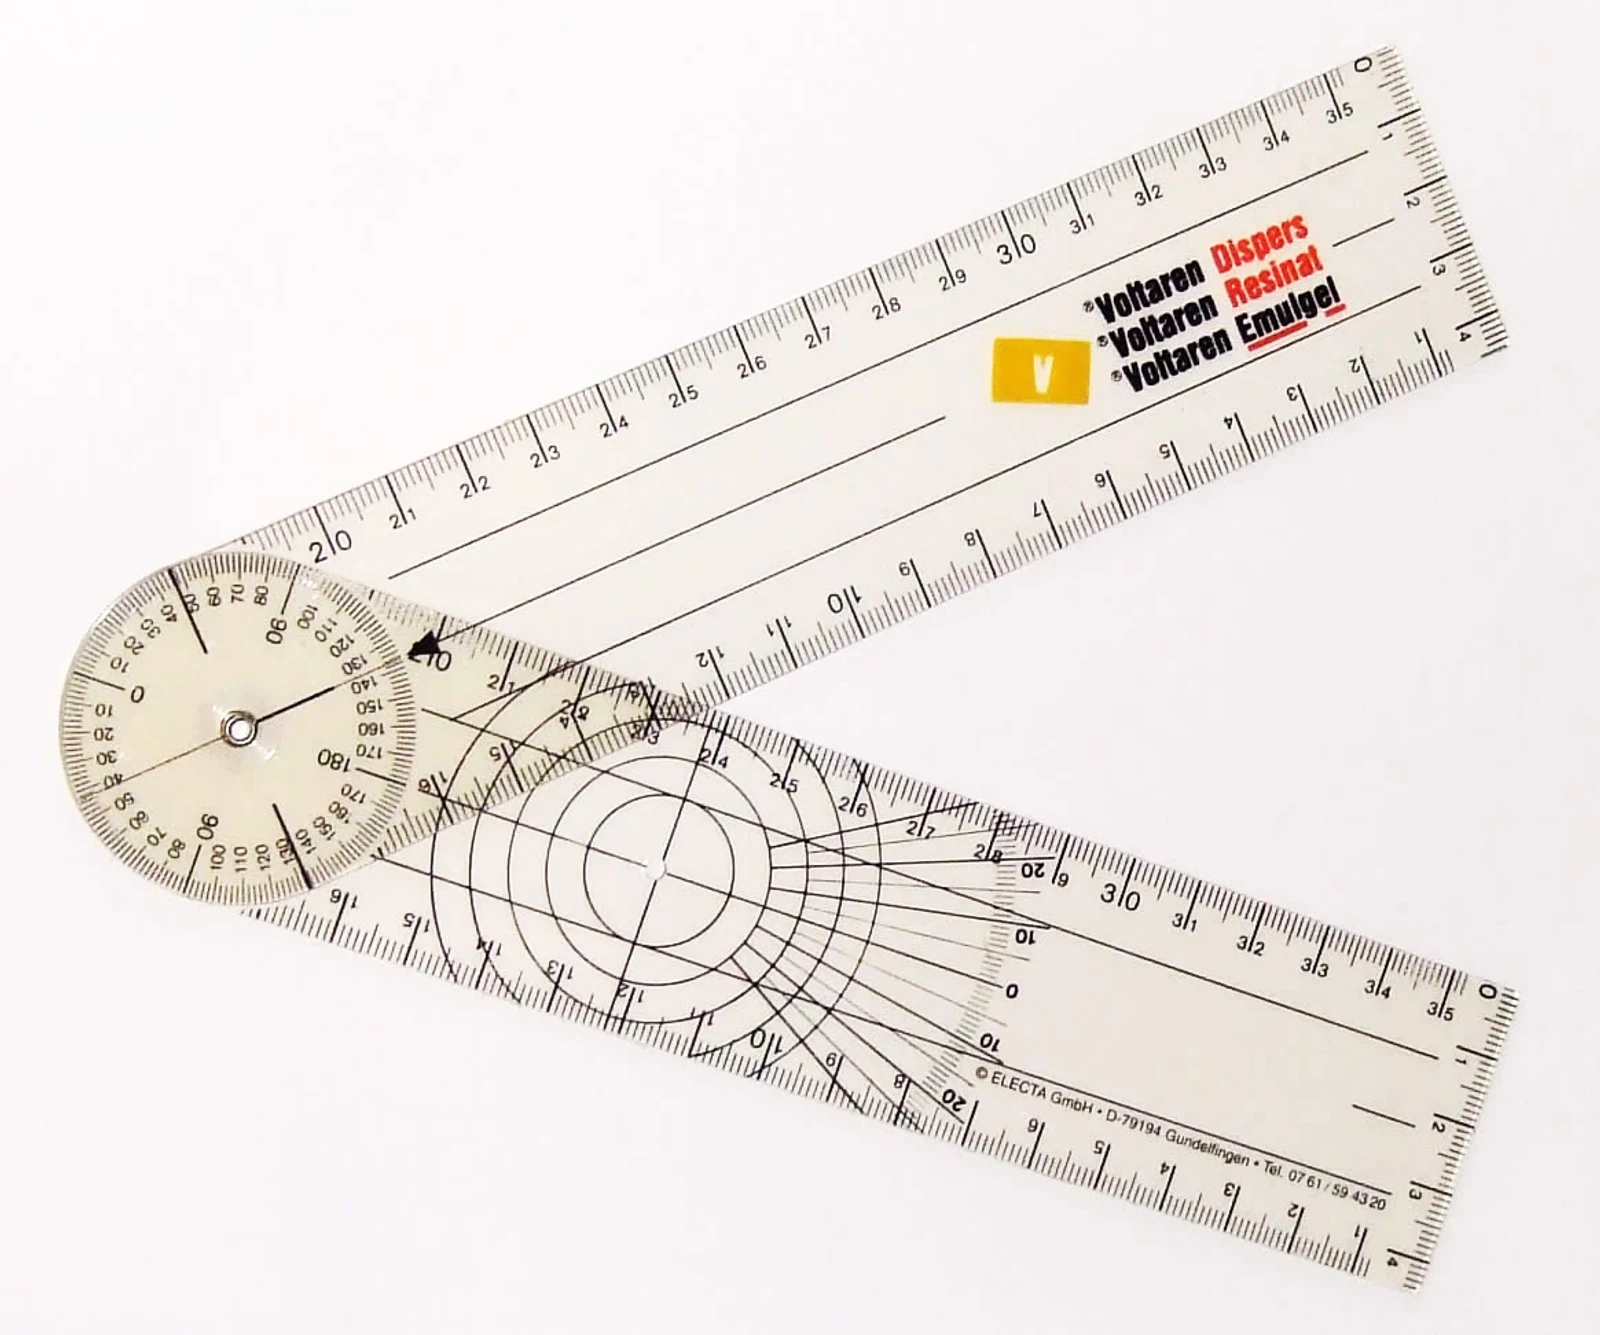
The joint between the two measuring arms.
Zoom in, then drag to inspect. Keyboard: + / − to zoom, arrows to pan, 0 to reset. Tap the numbered markers to explore parts.
Clinical goniometer — reference view
Image: Voxymoron · Source / original · CC BY-SA 3.0Resized and converted to WebP; original colours retained.
An angular scale relates the positions of two arms aligned with standard anatomical landmarks.
Use the joint-specific reference landmarks.
Distinguish active from passive movement and document the method.
Consider pain, side-to-side comparison and functional significance.
Try answering aloud, then open the suggested answer. Examiner questions vary.
Degrees.
No. They assess related but different aspects of movement.
To improve repeatability and comparison.
No. Respect pain and the clinical precautions.